
EC2에 Harbor 설치하기
게시:
AWS에서 제공하는 컨테이너 레지스트리 서비스인 ECR(Elastic Container Registry)를 사용하면 편리하지만, 비용이 발생한다는 단점이 있다. 비용을 아끼고자 Harbor를 설치하여 도커 레지스트리를 구축하고자 한다.
ECR은 기본 공간이 500MB인 반면 EC2에 설치하면 EBS 볼륨의 기본 저장공간인 30GB를 사용할 수 있고, S3(5GB)에 저장할 수도 있다. 이 글에서는 EC2에 설치하는 방법을 다룬다.
기록한 시점으로부터 변경사항이 있을 수 있기 때문에 공식 문서를 먼저 확인한 뒤에 진행하는 것을 권장한다.
개요
전체적인 흐름은 다음과 같다.
- 패키지 다운로드
- External HTTPS 접근 설정 (인증기관 및 서버 인증서 생성, 인증서 세팅)
- Internal TLS 설정
- harbor.yml 구성
- 설치 및 배포
비용을 들이지 않고 도메인 없이 설치할 것이기 때문에 2, 3번 과정을 생략할 것이다. HTTPS를 사용하려면 인증서를 생성한 뒤 인증서 path를 등록하면 된다. 관련 내용은 공식 문서의 Configure HTTPS Access to Harbor, Configure Internal TLS communication between Harbor Component 페이지를 참고하도록 한다.
전제조건
Ubuntu 22.04 LTS에 설치하였다. 다른 리눅스 배포판에서도 설치가 가능하나 테스트하지 않았다.
Docker 컨테이너로 배포되고 Docker Compose 클러스터로 구동되기 때문에 Docker 및 Docker Compose가 설치되어 있어야 한다.
하드웨어
최소 및 권장 하드웨어 사양은 다음과 같다. EC2 프리티어(t2.micro)에서 구동되기는 하나 최저 사양에는 못 미친다.
| Resource | Minimum | Recommended |
|---|---|---|
| CPU | 2 | 4 |
| Memory | 4GB | 8GB |
| Disk | 40GB | 160GB |
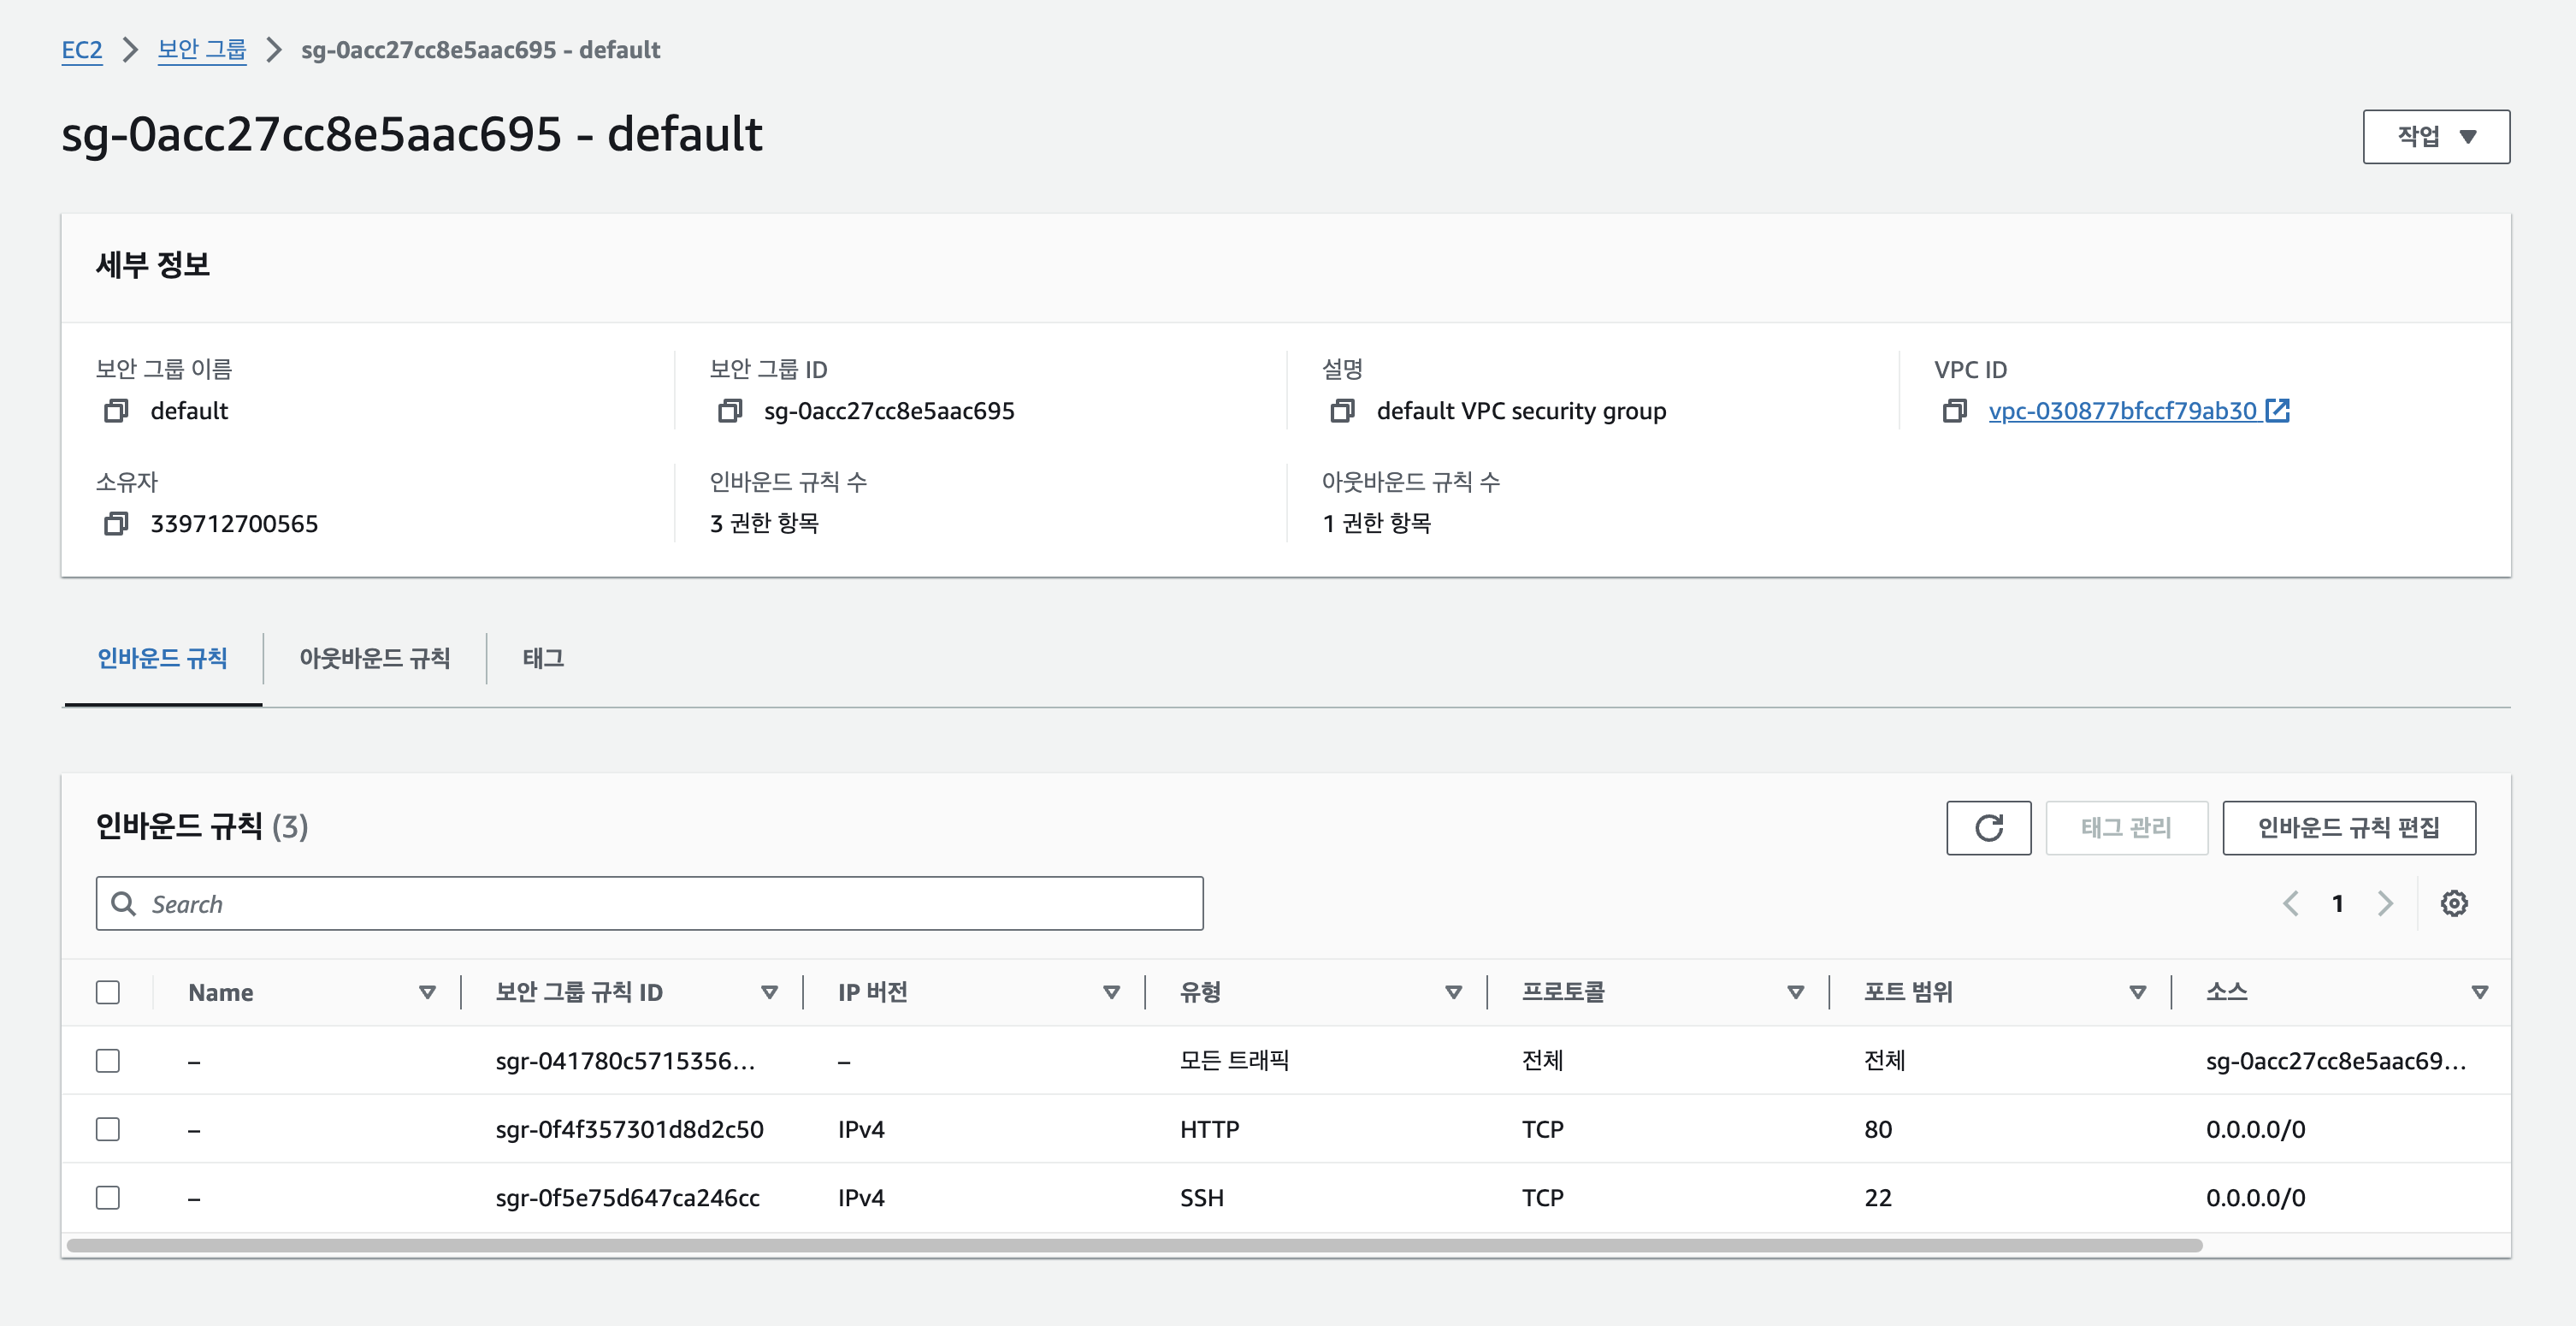
네트워크 포트
호스트에서 다음 포트가 열려 있어야 한다.
| Port | Protocol | Description |
|---|---|---|
| 443 | HTTPS | Core API HTTPS |
| 4443 | HTTPS | Docker Content Trust Service |
| 80 | HTTP | Core API HTTP |
EC2 보안그룹 Inbound에서 해당 TCP 포트를 개방한다. HTTP만 사용할 것이기 때문에 80 포트만 개방시킨다.
패키지 다운로드
Harbor 공식 릴리즈 페이지에서 원하는 버전을 다운로드 받는다. 글이 작성되는 시점에서 최신 버전은 2.10이다. 다운로드 받은 파일의 압축을 해제한다.
$ wget https://github.com/goharbor/harbor/releases/download/v2.10.0/harbor-offline-installer-v2.10.0.tgz
$ tar xvf harbor-offline-installer-v2.10.0.tgz
x harbor/harbor.v2.10.0.tar.gz
x harbor/prepare
x harbor/LICENSE
x harbor/install.sh
x harbor/common.sh
x harbor/harbor.yml.tmpl
harbor.yml 구성
harbor에 대한 시스템 매개변수를 설정하는 과정이다. 2.10 버전 기준으로 구성 파일은 harbor/harbor.yml.tmpl에 있다.
필수 매개변수와 선택적 매개변수가 있으며 HTTP 통신에 필요한 기본적인 매개변수는 다음과 같다. 선택적 매개변수는 주석 처리되어 있다.
내부 통신을 암호화시킬 수 있는 TLS 옵션과 외부 스토리지를 쓸 수 있는 옵션도 있어 필요에 따라 구성하면 된다.
- hostname: 배포 호스트의 IP 또는 도메인 이름
- http: HTTP 포트를 설정하는 하위 매개변수(port)가 있다.
- https: HTTPS 포트와 cert, key의 path를 지정하는 하위 매개변수가 있다. 여기서는 사용하지 않을 것이므로 주석 처리하였다.
- harbor_admin_password: Admin 최초 비밀번호
- database: 로컬 PostgreSQL 구성을 설정하는 하위 매개변수가 있다.
- Harbor는 Docker compose로 배포되며 DB로 Postgres를 사용한다.
- data_volume: 컨테이너 이미지를 저장할 호스트의 파일시스템 위치이다.
- 절대 경로로 입력해야 한다.
- 이 옵션을 비활성화하고 storage_service를 활성화해서 S3 등 외부 스토리지를 구성할 수 있다.
# harbor.yml

# Configuration file of Harbor
# The IP address or hostname to access admin UI and registry service.
# DO NOT use localhost or 127.0.0.1, because Harbor needs to be accessed by external clients.
hostname: ec2-52-78-121-249.ap-northeast-2.compute.amazonaws.com


# http related config
http:
  # port for http, default is 80. If https enabled, this port will redirect to https port
  port: 80

# https related config
# https:
#  # https port for harbor, default is 443
#  port: 443
#  # The path of cert and key files for nginx
#  certificate: /your/certificate/path
#  private_key: /your/private/key/path

# # Uncomment following will enable tls communication between all harbor components
# internal_tls:
#   # set enabled to true means internal tls is enabled
#   enabled: true
#   # put your cert and key files on dir
#   dir: /etc/harbor/tls/internal
#   # enable strong ssl ciphers (default: false)
#   strong_ssl_ciphers: false

# Uncomment external_url if you want to enable external proxy
# And when it enabled the hostname will no longer used
# external_url: https://reg.mydomain.com:8433

# The initial password of Harbor admin
# It only works in first time to install harbor
# Remember Change the admin password from UI after launching Harbor.
harbor_admin_password: Harbor12345

# Harbor DB configuration
database:
  # The password for the root user of Harbor DB. Change this before any production use.
  password: root123
  # The maximum number of connections in the idle connection pool. If it <=0, no idle connections are retained.
  max_idle_conns: 100
  # The maximum number of open connections to the database. If it <= 0, then there is no limit on the number of open connections.
  # Note: the default number of connections is 1024 for postgres of harbor.
  max_open_conns: 900
  # The maximum amount of time a connection may be reused. Expired connections may be closed lazily before reuse. If it <= 0, connections are not closed due to a connection's age.
  # The value is a duration string. A duration string is a possibly signed sequence of decimal numbers, each with optional fraction and a unit suffix, such as "300ms", "-1.5h" or "2h45m". Valid time units are "ns", "us" (or "µs"), "ms", "s", "m", "h".
  conn_max_lifetime: 5m
  # The maximum amount of time a connection may be idle. Expired connections may be closed lazily before reuse. If it <= 0, connections are not closed due to a connection's idle time.
  # The value is a duration string. A duration string is a possibly signed sequence of decimal numbers, each with optional fraction and a unit suffix, such as "300ms", "-1.5h" or "2h45m". Valid time units are "ns", "us" (or "µs"), "ms", "s", "m", "h".
  conn_max_idle_time: 0

# The default data volume
data_volume: /data
설치 및 배포
다음 명령으로 설치 및 배포한다. 설치를 실행하면 Docker compose 배포가 자동으로 실행된다.
$ sudo ./install.sh
[Step 0]: checking if docker is installed ...
Note: docker version: 25.0.0
[Step 1]: checking docker-compose is installed ...
Note: Docker Compose version v2.24.1
[Step 2]: loading Harbor images ...
Loaded image: goharbor/trivy-adapter-photon:v2.10.0
Loaded image: goharbor/prepare:v2.10.0
Loaded image: goharbor/harbor-log:v2.10.0
Loaded image: goharbor/harbor-registryctl:v2.10.0
Loaded image: goharbor/nginx-photon:v2.10.0
Loaded image: goharbor/harbor-exporter:v2.10.0
Loaded image: goharbor/redis-photon:v2.10.0
Loaded image: goharbor/registry-photon:v2.10.0
Loaded image: goharbor/harbor-portal:v2.10.0
Loaded image: goharbor/harbor-core:v2.10.0
Loaded image: goharbor/harbor-db:v2.10.0
Loaded image: goharbor/harbor-jobservice:v2.10.0
[Step 3]: preparing environment ...
[Step 4]: preparing harbor configs ...
prepare base dir is set to /home/ubuntu/Downloads/Harbor/harbor
Clearing the configuration file: /config/portal/nginx.conf
Clearing the configuration file: /config/log/logrotate.conf
Clearing the configuration file: /config/log/rsyslog_docker.conf
Generated configuration file: /config/portal/nginx.conf
Generated configuration file: /config/log/logrotate.conf
Generated configuration file: /config/log/rsyslog_docker.conf
Generated configuration file: /config/nginx/nginx.conf
Generated configuration file: /config/core/env
Generated configuration file: /config/core/app.conf
Generated configuration file: /config/registry/config.yml
Generated configuration file: /config/registryctl/env
Generated configuration file: /config/registryctl/config.yml
Generated configuration file: /config/db/env
Generated configuration file: /config/jobservice/env
Generated configuration file: /config/jobservice/config.yml
loaded secret from file: /data/secret/keys/secretkey
Generated configuration file: /compose_location/docker-compose.yml
Clean up the input dir
Note: stopping existing Harbor instance ...
[Step 5]: starting Harbor ...
[+] Running 9/10
⠹ Network harbor_harbor Created 6.2s
✔ Container harbor-log Started 0.8s
✔ Container registryctl Started 3.0s
✔ Container harbor-portal Started 3.1s
✔ Container registry Started 2.9s
✔ Container harbor-db Started 3.1s
✔ Container redis Started 3.0s
✔ Container harbor-core Started 3.7s
✔ Container nginx Started 5.9s
✔ Container harbor-jobservice Started 5.9s
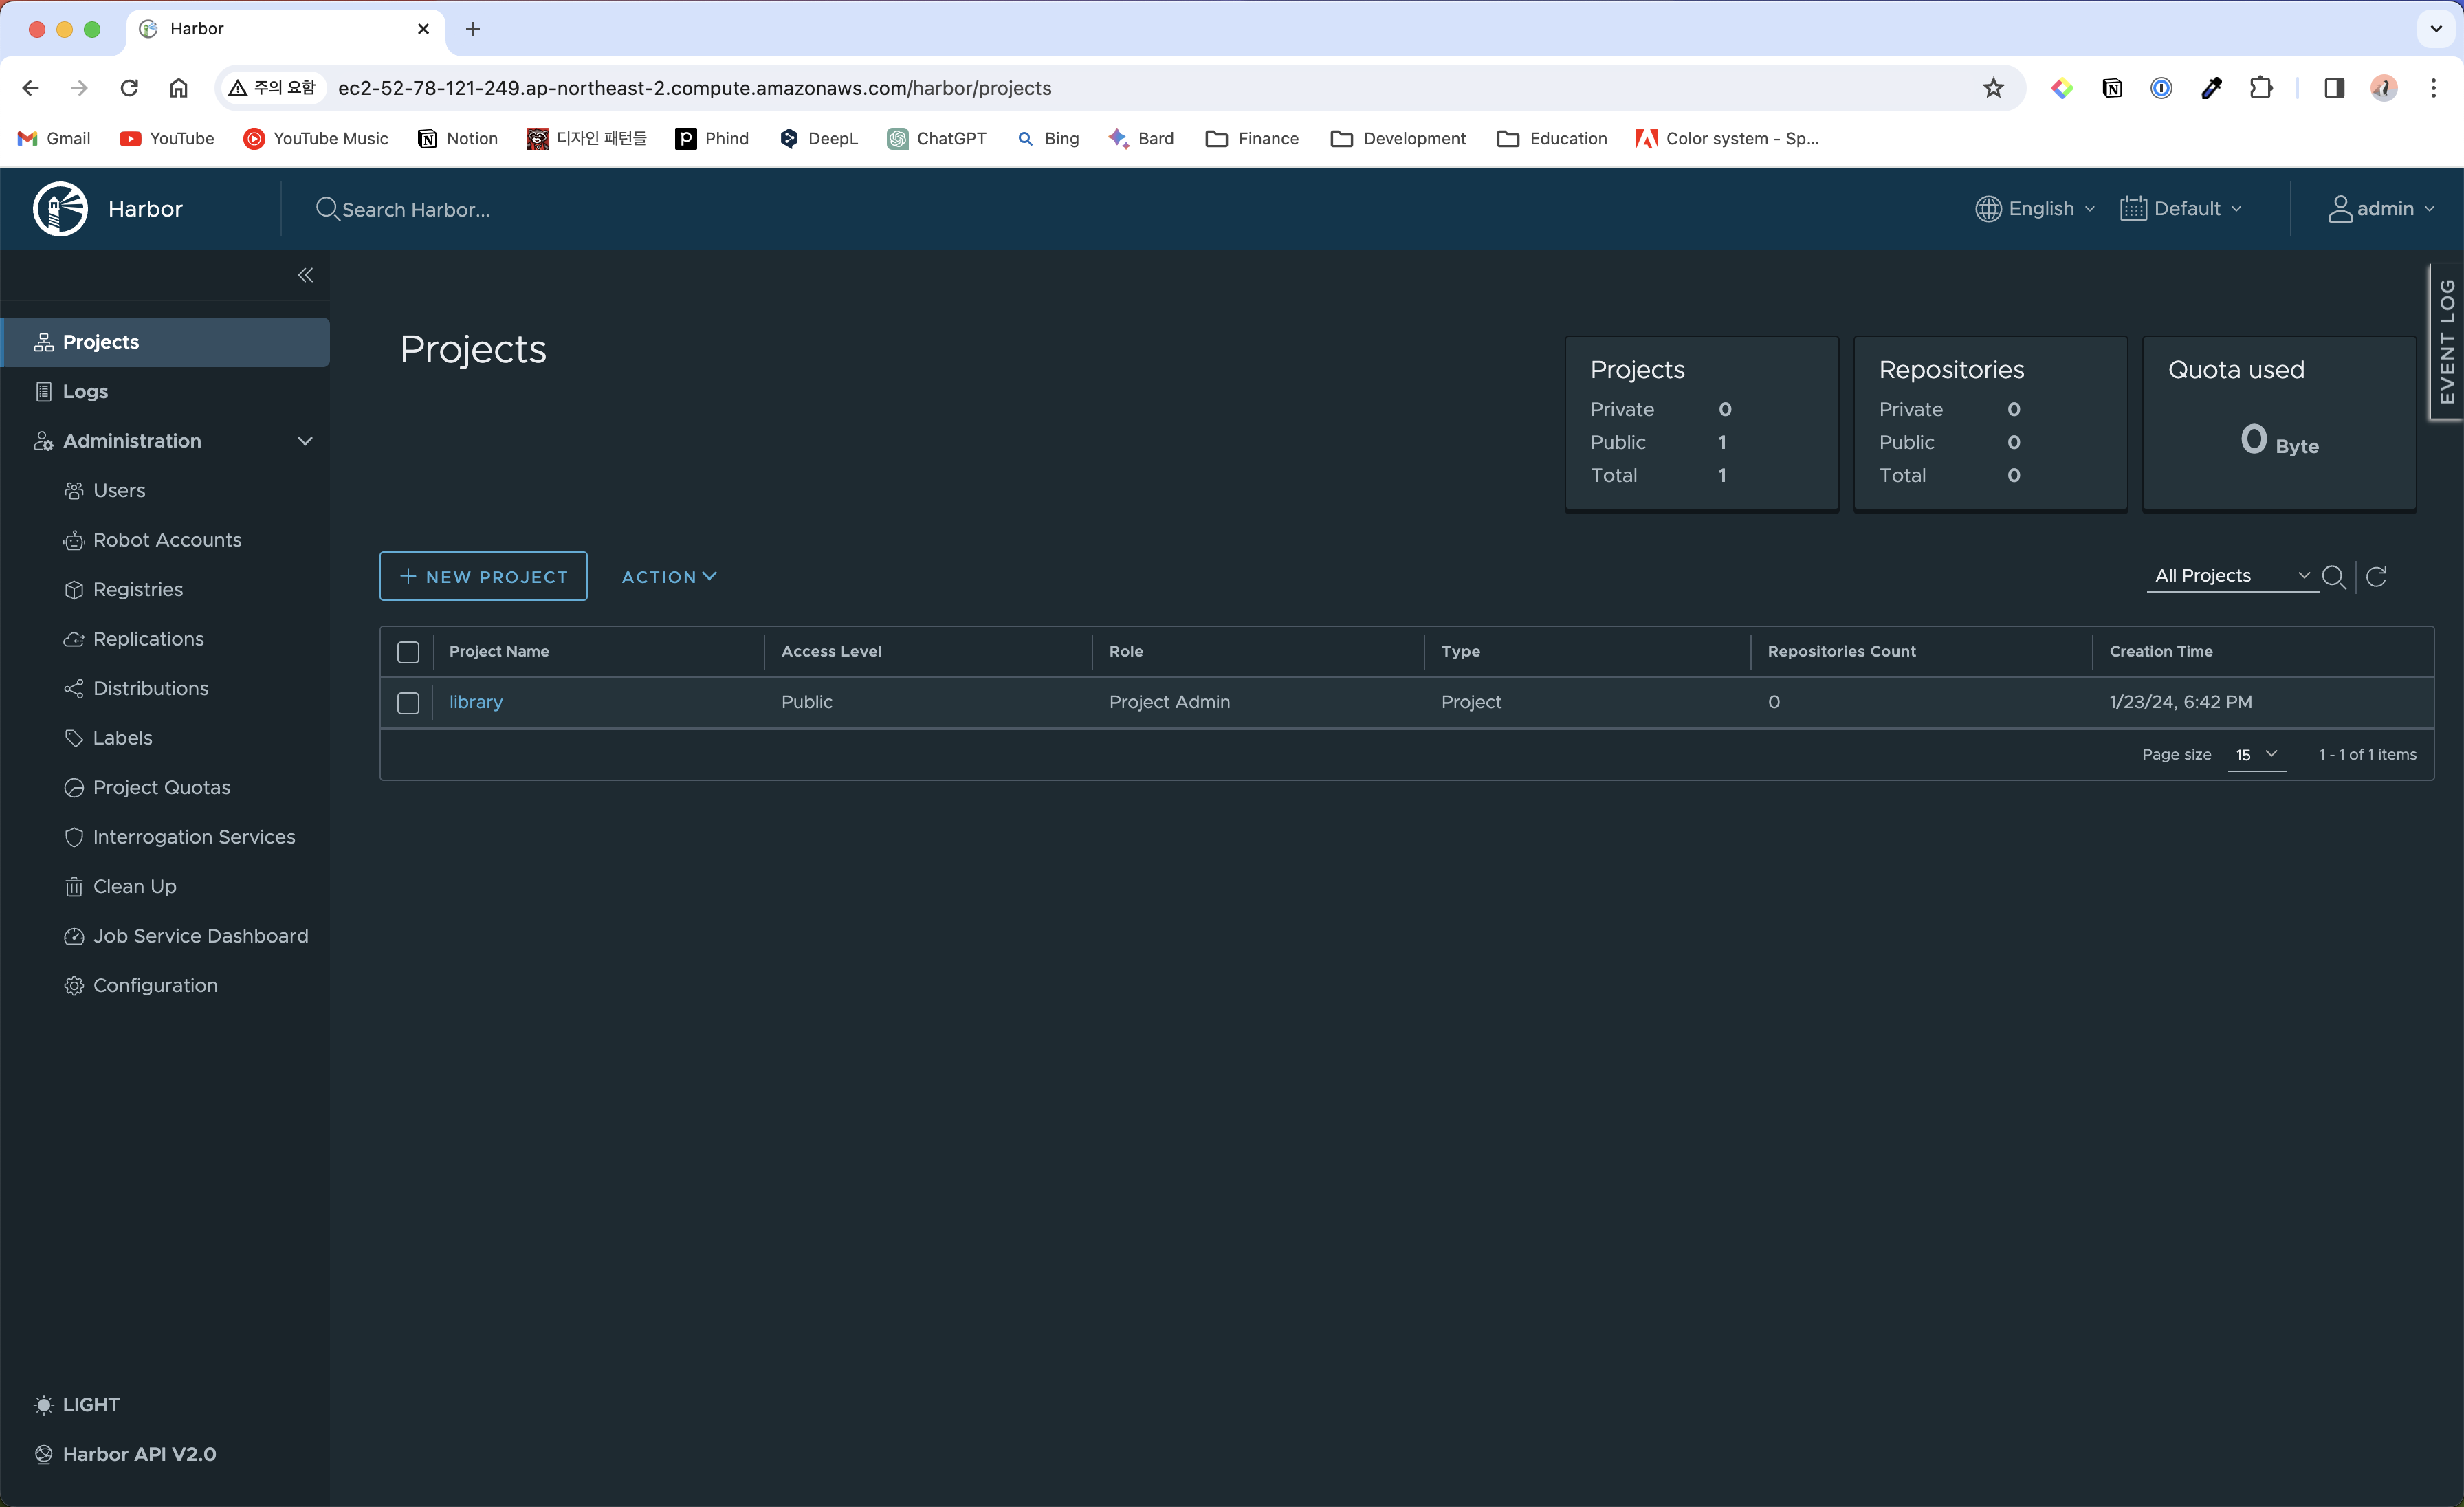
✔ ----Harbor has been installed and started successfully.----
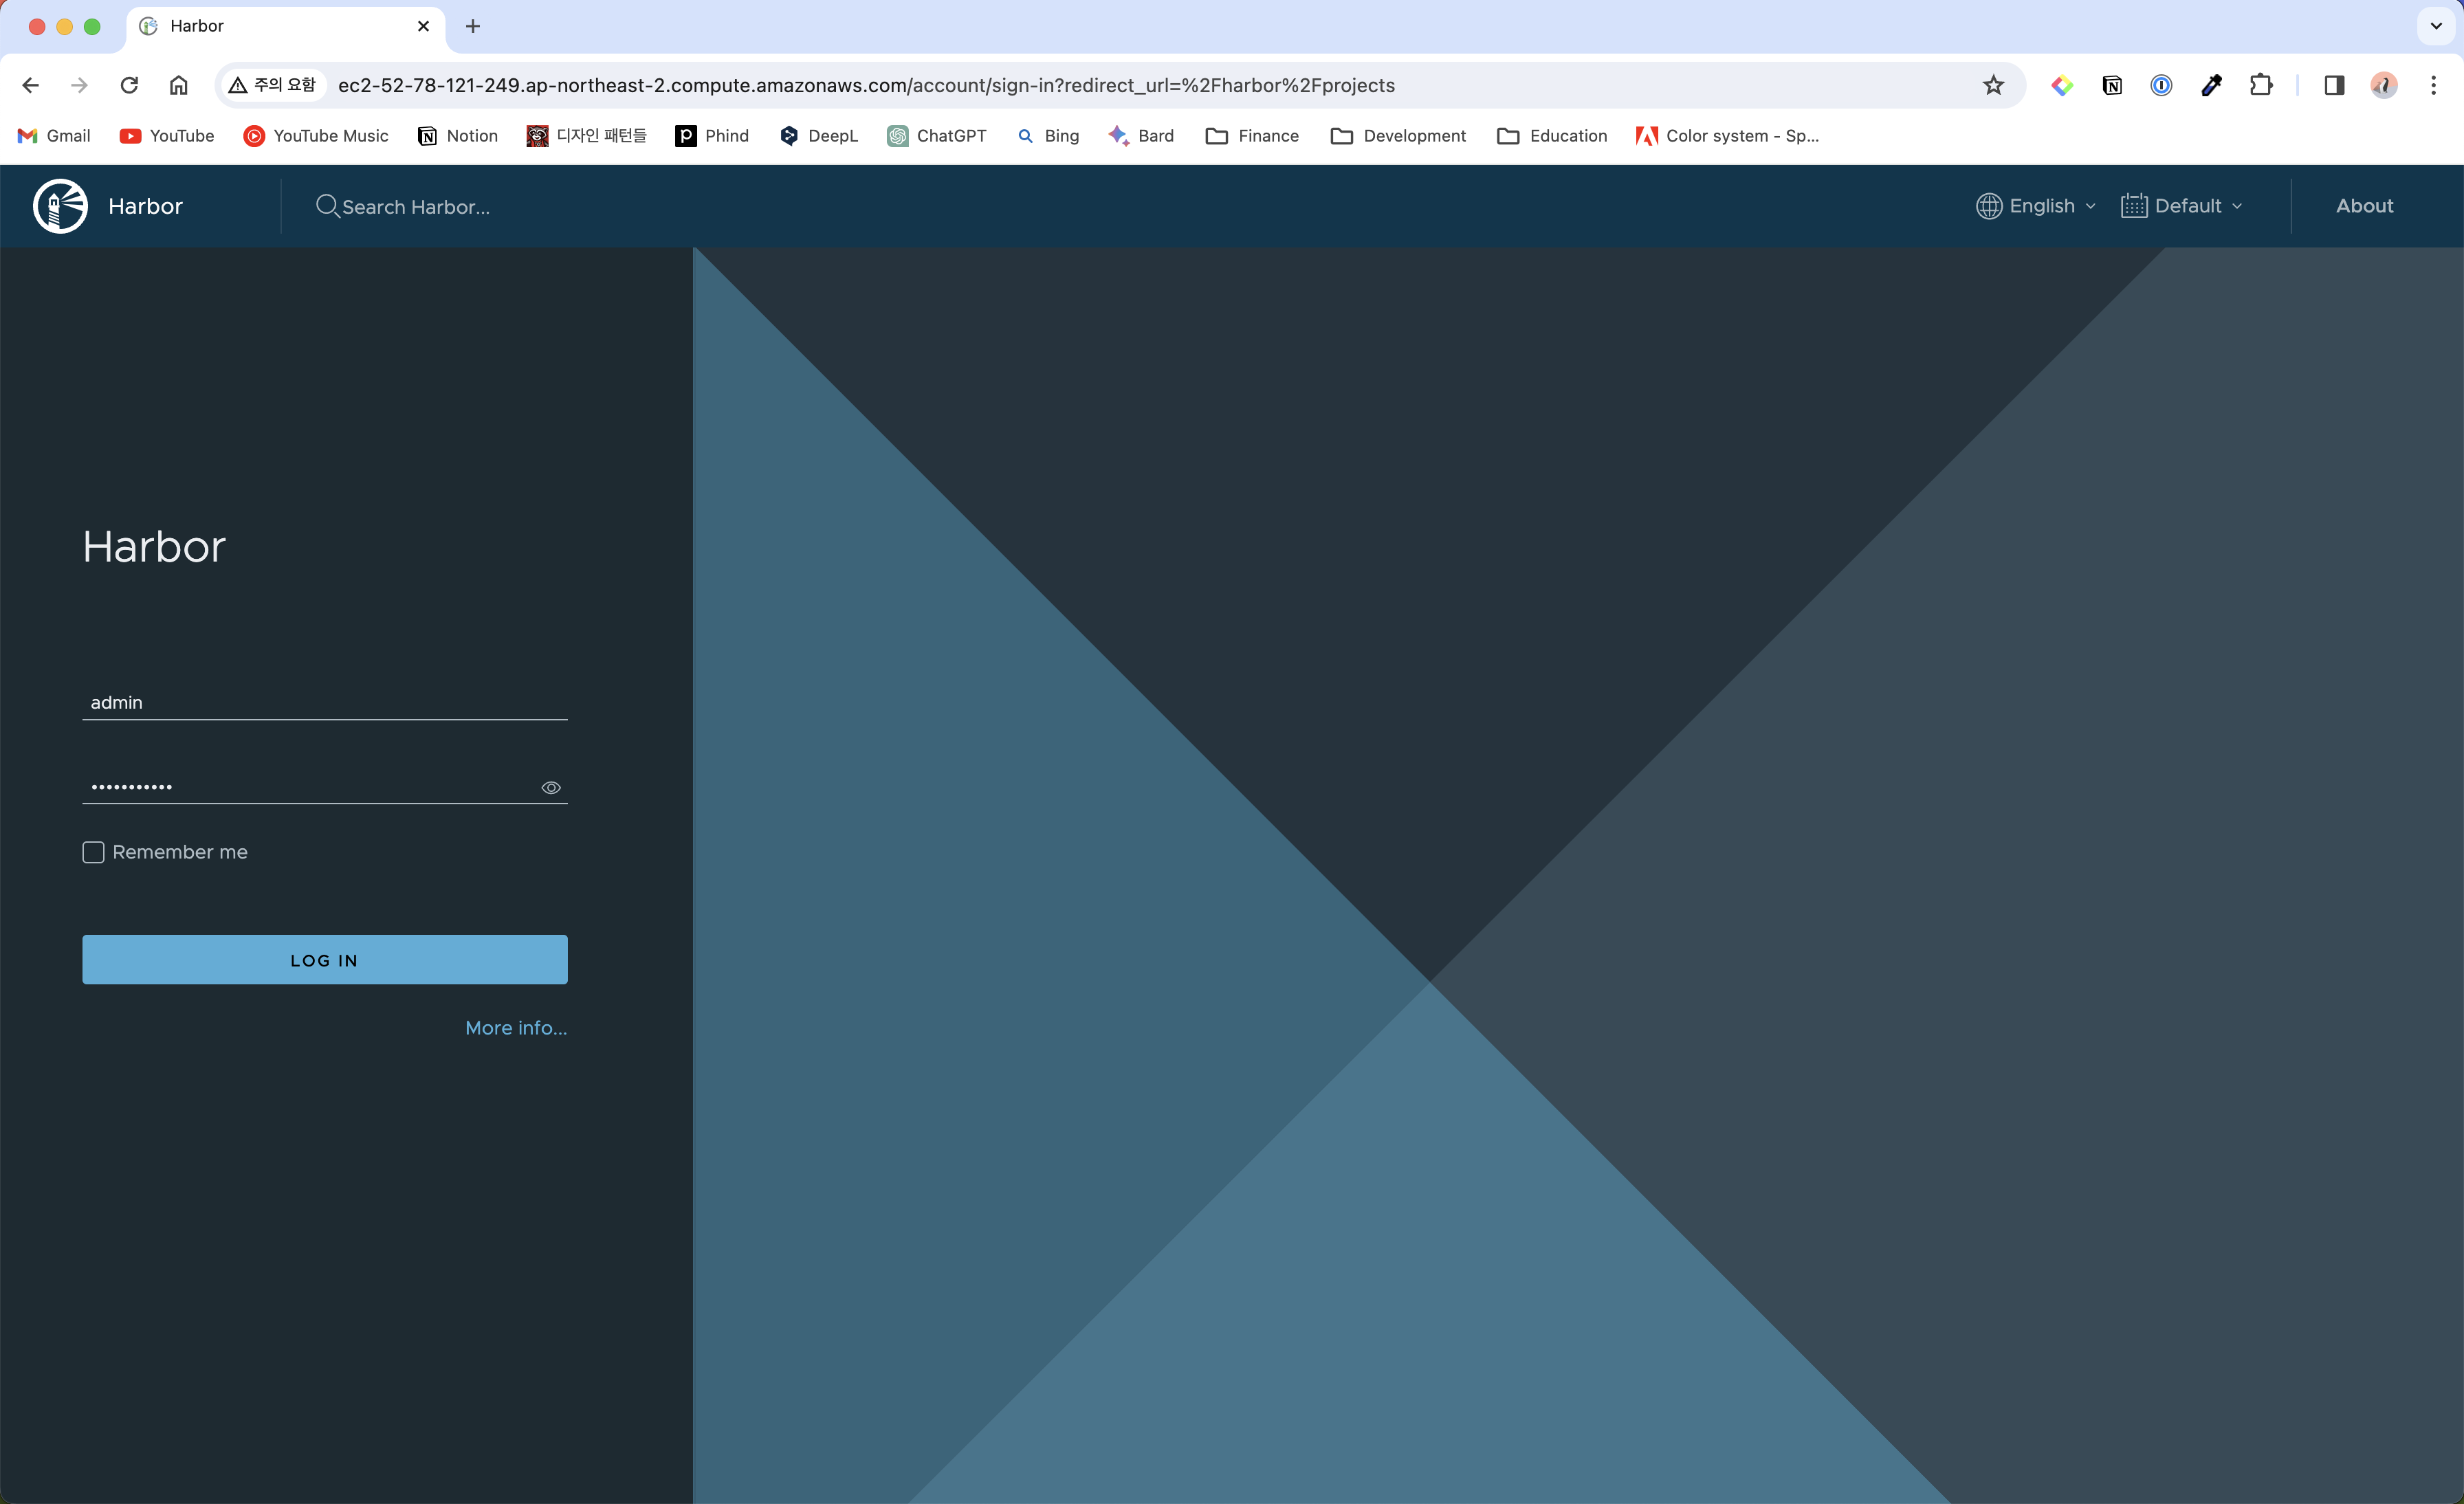
Docker Login 설정
http로 배포되었기 때문에 docker login을 위해서 insecure-registry 옵션을 설정해야 한다.
macOS
Docker Desktop Preferences > Docker Engine에 insecure registry를 추가하고 Restart를 한다.
{
  "builder": {
    "gc": {
      "defaultKeepStorage": "20GB",
      "enabled": true
    }
  },
  "experimental": false,
  "features": {
    "buildkit": true
  },
  "insecure-registries" : ["IP or domain name"]
}
Linux
/etc/docker/daemon.json 파일을 편집한다. 해당 파일이 없으면 새로 생성하면 된다.
{
  "insecure-registries" : ["IP or domain name"]
}
insecure registry를 추가한 뒤 Docker daemon을 재시작한다.
sudo systemctl restart docker
구성 편집 및 재배포
배포 후 harbor.yml 구성을 편집하고 적용하려면 다음 절차를 따르면 된다.
harbor.yml편집prepare스크립트 실행- Docker compose 재시작. 이미지 데이터는 파일 시스템에 남아있기 때문에 데이터가 손실되지 않는다.
$ sudo docker compose down -v$ sudo docker compose up -d
댓글남기기